THE FOLLOWING CB EVALUATION IS BY DAVID ROY:
Installation and review of Kawasaki CB radio for the Voyager 1700
Today I installed the Genuine Kawasaki CB radio on my 2010 Voyager 1700. The box was a long narrow box to accommodate the CB antenna. I have laid out the parts required for this install in the photo below. The kit also came with the official Citizens Band Radio rules and regulations. My information below is meant to review and supplement the installation instructions, not replace them.

For this install you have to gain access to the lower left fairing, the left side of the main fairing, the frame rail under the fuel tank, and the inside of the trunk. The most difficult part for me was carefully removing the trim ring around the ignition which is press fit into place. The only challenging part of this install was drilling holes in the rear of the trunk. It is best to have access to the service manual when working on the bike but it is pretty straight forward.
Below I removed the black cover and side cover for the lower fairing, then removed the fasteners holding the upper part of the lower fairing because this is were the CB unit will mount.

The CB unit is mounted in this location with the fasteners provided. The connector needs to be routed into the main fairing and plugged into the mating connector located beside the radio. The instructions call for opening the fairing but based on information from others who have come before me and my own explorations into the upper fairing I decided it could be done by removing the left speaker to gain access to the mating plug.

I still needed to get the CB plug into the fairing and the opening where one of the fairing frame rails entered was a little too small so I removed the fastener located near that frame rail and will able to pull the fairing enough to fit the CB plug through the gap and route it into the upper fairing.

In the photo below you can see that I have routed the plug into the fairing and out the speaker opening just so you can see what it looks like.

In the photo below you can see the plug which is now mated to its counterpart. This is a one hand operation but fortunately the mating plug is held securely by the fairing so it was not an issue. The antenna cable needs to be routed from the CB unit, under the fuel tank, and along the radio antenna into the trunk opening. The supplied zip ties help secure it along the route.

Now for the fun part of drilling holes in the bike. I have drilled many holes in many bikes, but it is still something that I do not want to make a mistake at so it is a little stressful every time I do it. Kawasaki did supply a pretty cool template to help make this installation a little easier. Cut the template out, fold in the appropriate place and it follows the lines of the trunk to let you know exactly where the holes should be drilled.

I do recommend checking with a square since you know the holes should be vertical and perpendicular to the rim of the trunk.

The directions call for drilling a pilot hole from the inside so you know where to drill the larger hole from the outside of the trunk. I recommend using “green” tools to get the job done right. LOL!

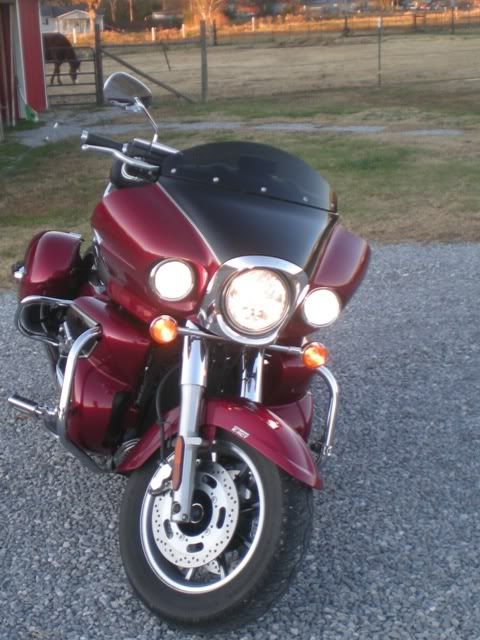
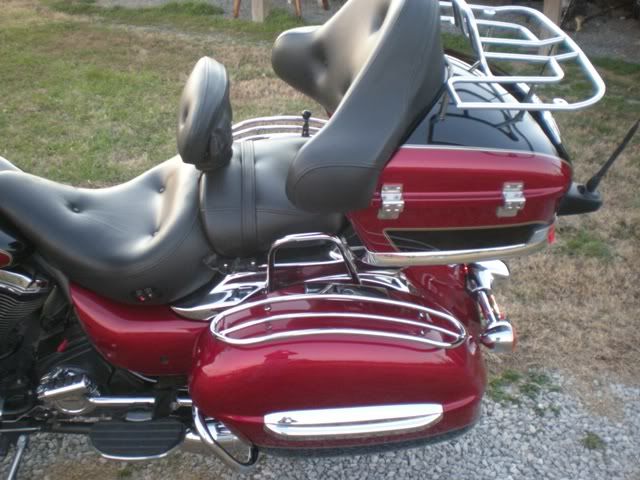
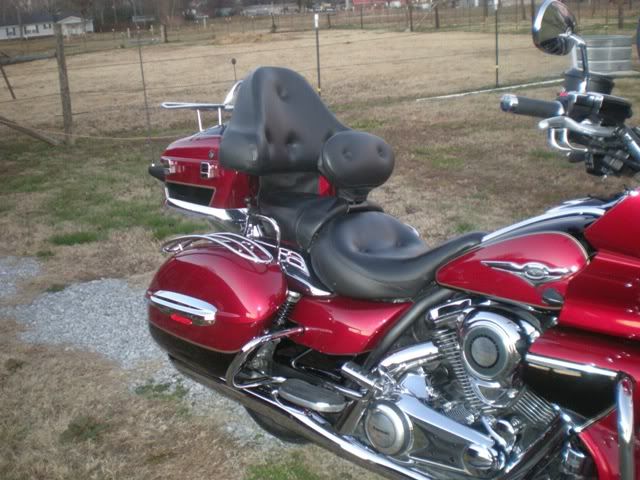
Here are some photos of my bike after a day of wrenching and modifying which is almost as fun and rewarding as riding.


The controls for the CB are already a part of the stock motorcycle and like the radio and intercom are very easy to use and operate. As of this writing I have not had the opportunity to use the CB to communicate with another rider. As soon as I do, I will report back with the results. I am using the Kawasaki Rider and Passenger communication headsets on my Voyager and they have some real nice features for the passenger where the passenger can control their radio and intercom volumes independent of each other and independent of the rider. Also the passenger has their own Push To Talk (PTT) button for communicating over the CB.
If you ride in groups and/or do a lot of traveling a CB is definitely a handy (some might say essential) communication device that keeps you connected and safe on the road. I am looking forward to using it soon.
NOTE: Most if not all installation instructions for Kawasaki Genuine Accessories can be downloaded in PDF from Kawasaki’s website. This will help you determine if the installation is something you want to tackle on your own or let the technicians at your local dealership perform the installation for you.


