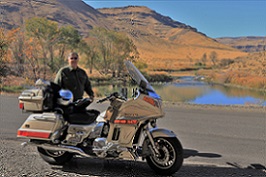

http://www.ebay.com/itm/like/1718471737 ... rmvSB=true
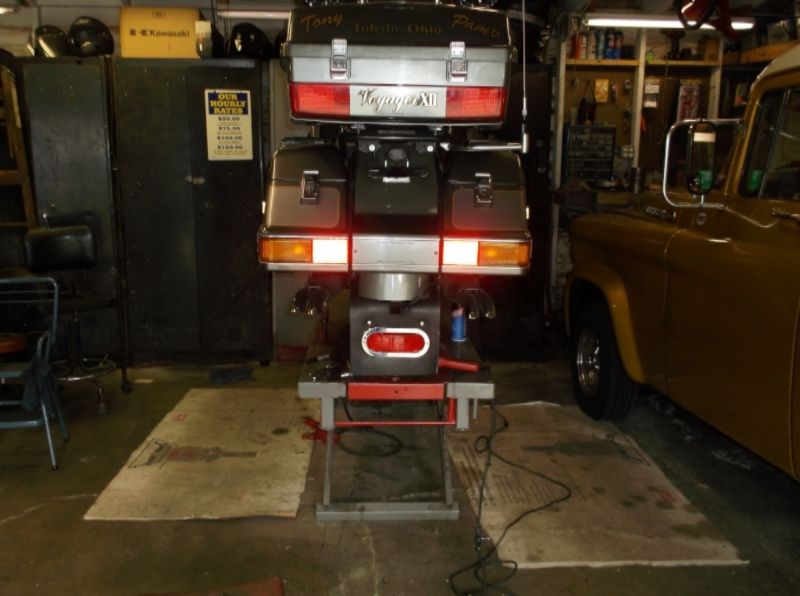
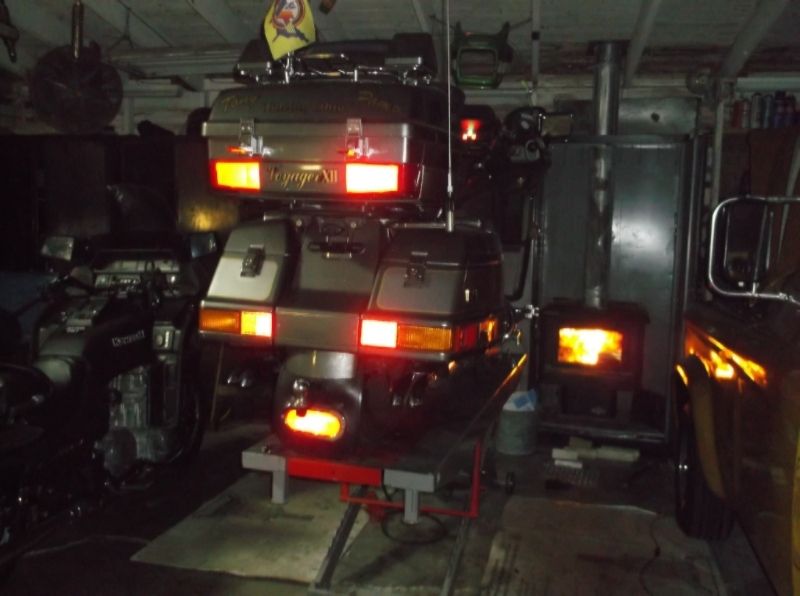
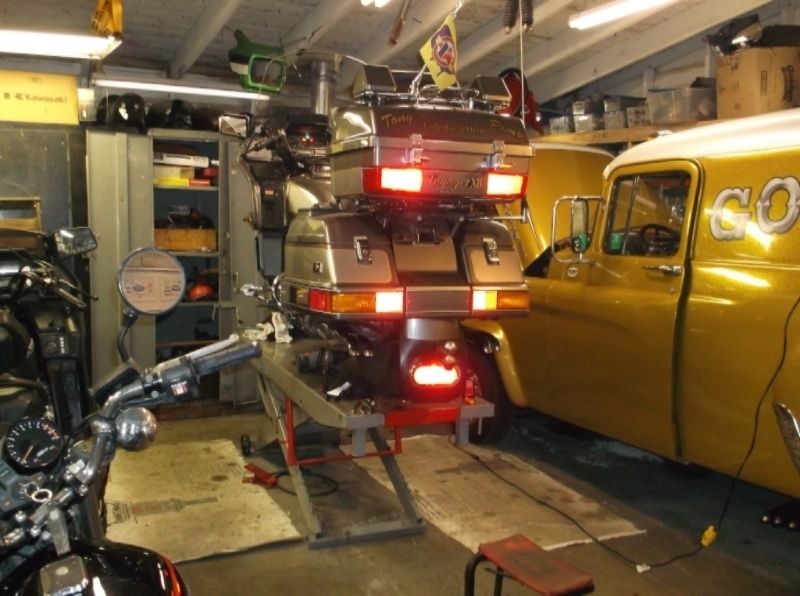
I kinda liked this one......and was interested in a third brake light along with a additional rear running light,so the last time I was at NAPA I saw this light and decided to just make my own as opposed to buying one off the rack.

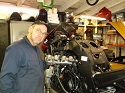
I serviced the forklifts at this factory here ,that makes conveyer belts on Friday....so I asked if I could look thru their scraps for something usable to start this project...here is what I got :

I laid the job out ...got a plan together ,and started cutting ! I decided AGAINST drilling holes in my rear fender,and decided to fab some support brackets .
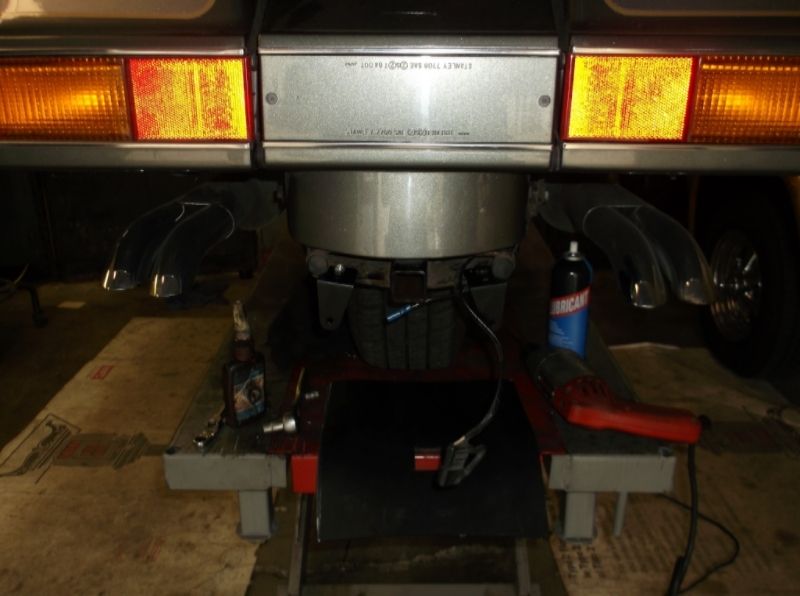
painted the brackets with black rustoleum and mounted them to the trailer hitch,then fitted the rubber "stock" in place to have a look.
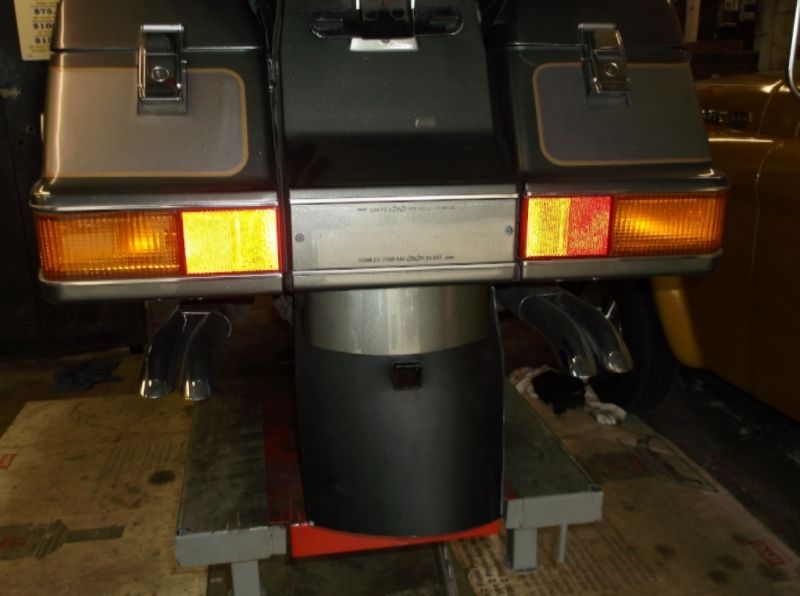
The light from NAPA comes with a template that makes layout and cutting of the material pretty easy,then the light is installed into the rubber mud flap, A couple of sheet metal screws are provided to attach the light,but I ended up also sealing and adhering the whole light to the rubber piece with black RTV silicone, that ended my Friday evening work session out in the shop,waiting for the RTV to harden.